Maximizing the organization of your walk-in cooler helps extend the freshness of products, enhances staff efficiency, and reduces the risk of cross-contamination. Below are targeted strategies for organizing your cooler, with tips for various industries, including food, beverage, medical, and commercial sectors.
1. Organize by Product Category
For the best results, group items based on contamination risk, storage needs, and shelf life. Stick to a consistent layout so employees can quickly locate items, and incorporate a cleaning schedule to maintain health standards between major cleanings. Here’s a practical setup:
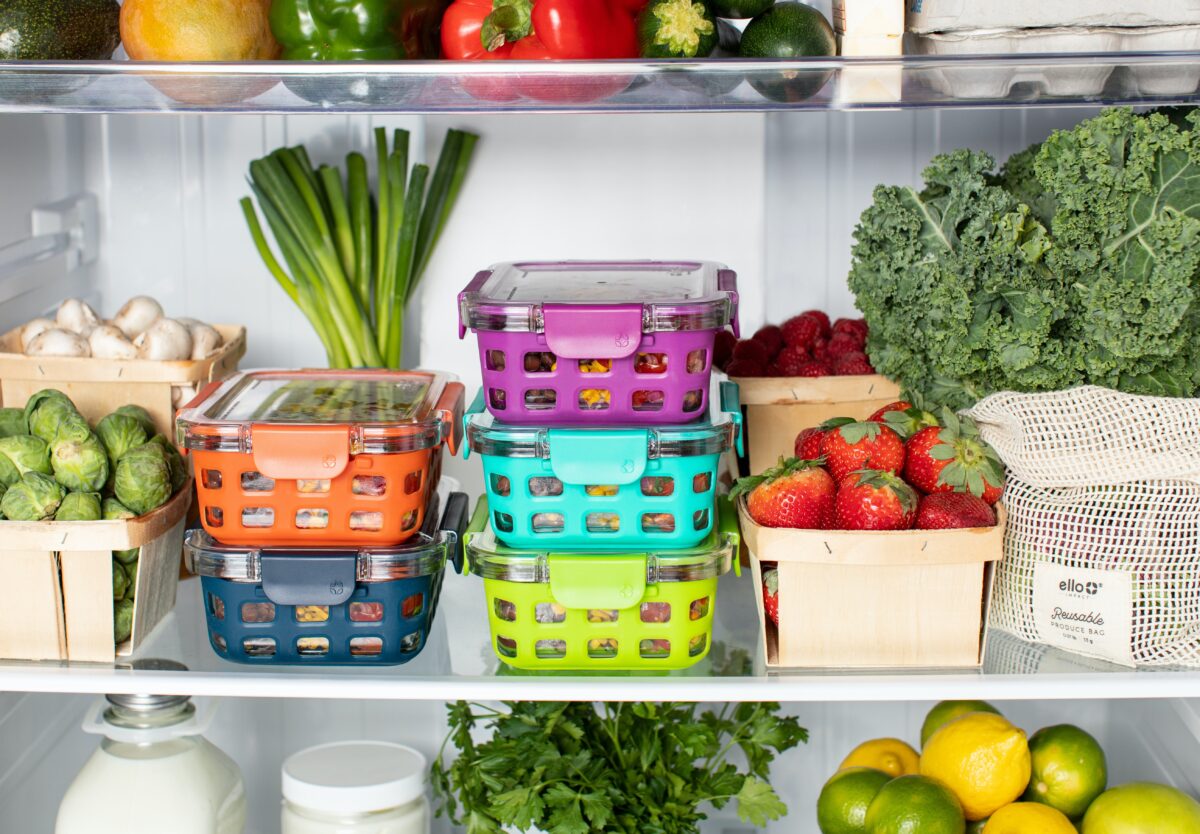
- Top Shelves: Fruits and Vegetables
- Store fruits and vegetables on the top shelf, far from cooler fans, which can cause drying and wilting. Place these items toward the front or sides of the cooler to avoid exposure to fan drafts.
- Upper Shelves: Prepared Foods
- Keep ready-to-eat items, such as prepped salads or meals, on shelves below produce to minimize contamination. For best results, always keep prepared foods on high shelves to avoid exposure to raw or high-risk items.
- Middle Shelves: Dairy Products
- Store dairy above meat but below produce and prepared foods. Given the longer shelf life of most dairy products, these can be placed centrally to avoid cross-contamination and maintain accessibility.
- Bottom Shelves: Meat Products
- Always place meat products on the lowest shelf, ideally in containers to prevent drips. If storing both raw and thawing meats, keep thawing items below raw to reduce contamination risk.
Tip: When transferring meat from the freezer to thaw in the cooler, use a leak-proof container to contain liquids released during thawing.
2. Prioritize Airflow for Consistent Cooling
Proper airflow is essential to keep items at safe temperatures and avoid overburdening the refrigeration system. To achieve this:
- Spacing: Leave 1-2 inches between items and shelves and avoid overloading to promote even air distribution.
- Shelving Placement: Position shelves a few inches from the cooler walls to allow unrestricted airflow, helping items cool evenly and the unit to work efficiently.
3. Organize for Simple and Efficient Cleaning
Maintaining cleanliness is crucial, particularly in high-turnover environments like food service and medical storage:
- Use Shelving: Shelving not only organizes items but also keeps them off the floor, simplifying cleaning. Aim to keep shelves at least six inches above the ground.
- Pest Prevention: Store items in containers to reduce the risk of spills or leaks, making it easier to clean between items.
4. Labeling for Quick Reference and Inventory Management
Clear labeling helps avoid expired items and ensures that the cooler meets health and safety standards. Consider these best practices:
- Detailed Labels: Include important dates on labels, such as the preparation, purchase, and opening dates. Clear labels help all staff identify items quickly, keeping operations efficient.
- First In, First Out (FIFO): Place older items toward the front and newer items toward the back to reduce waste and maintain stock rotation.
5. Industry-Specific Organization Tips
Every industry has unique needs. Here’s how to tailor your cooler organization based on your business type:
- Food & Beverage: Maintain strict segregation of raw and prepared foods, and ensure perishable items are easily accessible to prevent spoilage.
- Medical Supplies: Arrange temperature-sensitive items (e.g., vaccines, medications) in high-visibility locations for easy access and consistent monitoring.
- Commercial & Warehouse Storage: Organize items based on frequency of use. Store infrequently accessed items on higher shelves, keeping commonly needed items within reach.
Maximize Efficiency in Your Walk-In Cooler
Organizing your walk-in cooler effectively saves time and money. For more guidance on designing a walk-in tailored to your industry, contact Arctic Walk-Ins to speak with an expert. We’re here to support your business’s efficiency and compliance needs with custom cooler solutions.